Create a Checklist Classification
Create a Checklist Classification for Efficient Categorization.
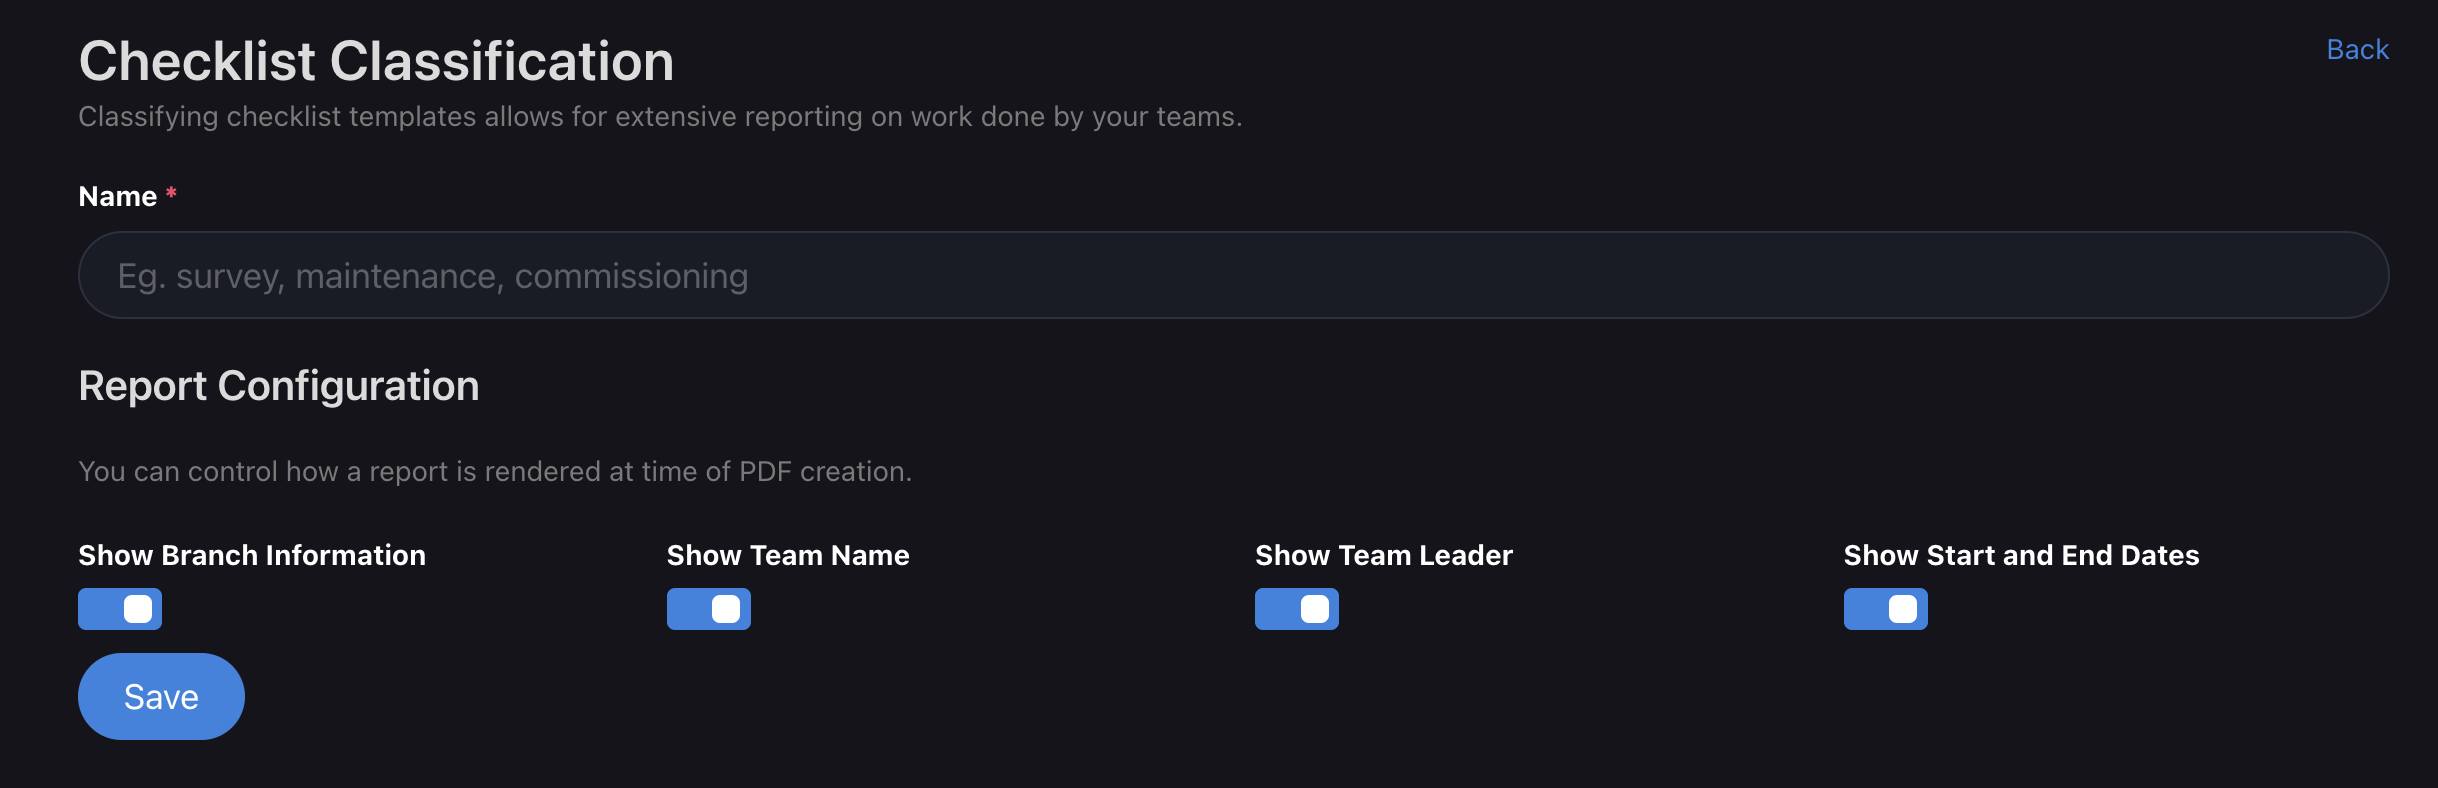
When creating a Checklist Classification in Inspeckta mobile, follow these steps to categorize your checklists and configure the report settings:
- Enter a Descriptive Name:
- Provide a descriptive Name to identify your Checklist Classification.
This name should be unique and reflect the category or purpose of the checklists that will fall under this classification.
- Provide a descriptive Name to identify your Checklist Classification.
Report Configuration:
- Display Branch Information:
You have the option to choose whether to display Branch Information on the report. Toggle this option based on your reporting needs.
- Display Team Name:
You have the option to choose whether to display the Team Name on the report. This can provide additional context and organization to the report.
- Display Team Leader:
You have the option to choose whether to display the Team Leader's name on the report. This helps attribute responsibility and ownership of the checklist activities.
- Display Start and End Dates:
You have the option to choose whether to display the Start and End Dates on the report. This provides a timeline reference for the activities performed.
Remember, you have control over the outcome of the PDF report.
Adjust the report settings according to your preferences. If you wish to include no specific information, you can configure the settings accordingly.
By creating Checklist Classifications and customizing the report settings, you can effectively categorize your checklists and tailor the report output to meet your specific requirements.
Unlock the full potential of Inspeckta mobile by utilizing Checklist Classifications and optimizing your reporting capabilities.
Streamline your operations and gain valuable insights from your checklist data.