Users
When adding new users, you will need to provide the following details:
-
Branches:
Select all the branches that this user will work under.
This allows you to assign the user to specific branches within your organization.
-
Teams:
Select all the teams that this user will work under.
This helps in organizing and assigning tasks to specific teams.
-
Enter the user's Name:
Provide the first name of the user.
-
Enter the user's Last Name:
Provide the last name of the user.
-
Enter the user's Email Address:
Provide the email address of the user.
This will be used for communication and login purposes. -
Optional:
Enter the user's Mobile Number: If available, you can enter the user's mobile number for additional contact information.
-
Optional:
Enter the user's Designation: If applicable, enter the user's job title or designation within the organization.

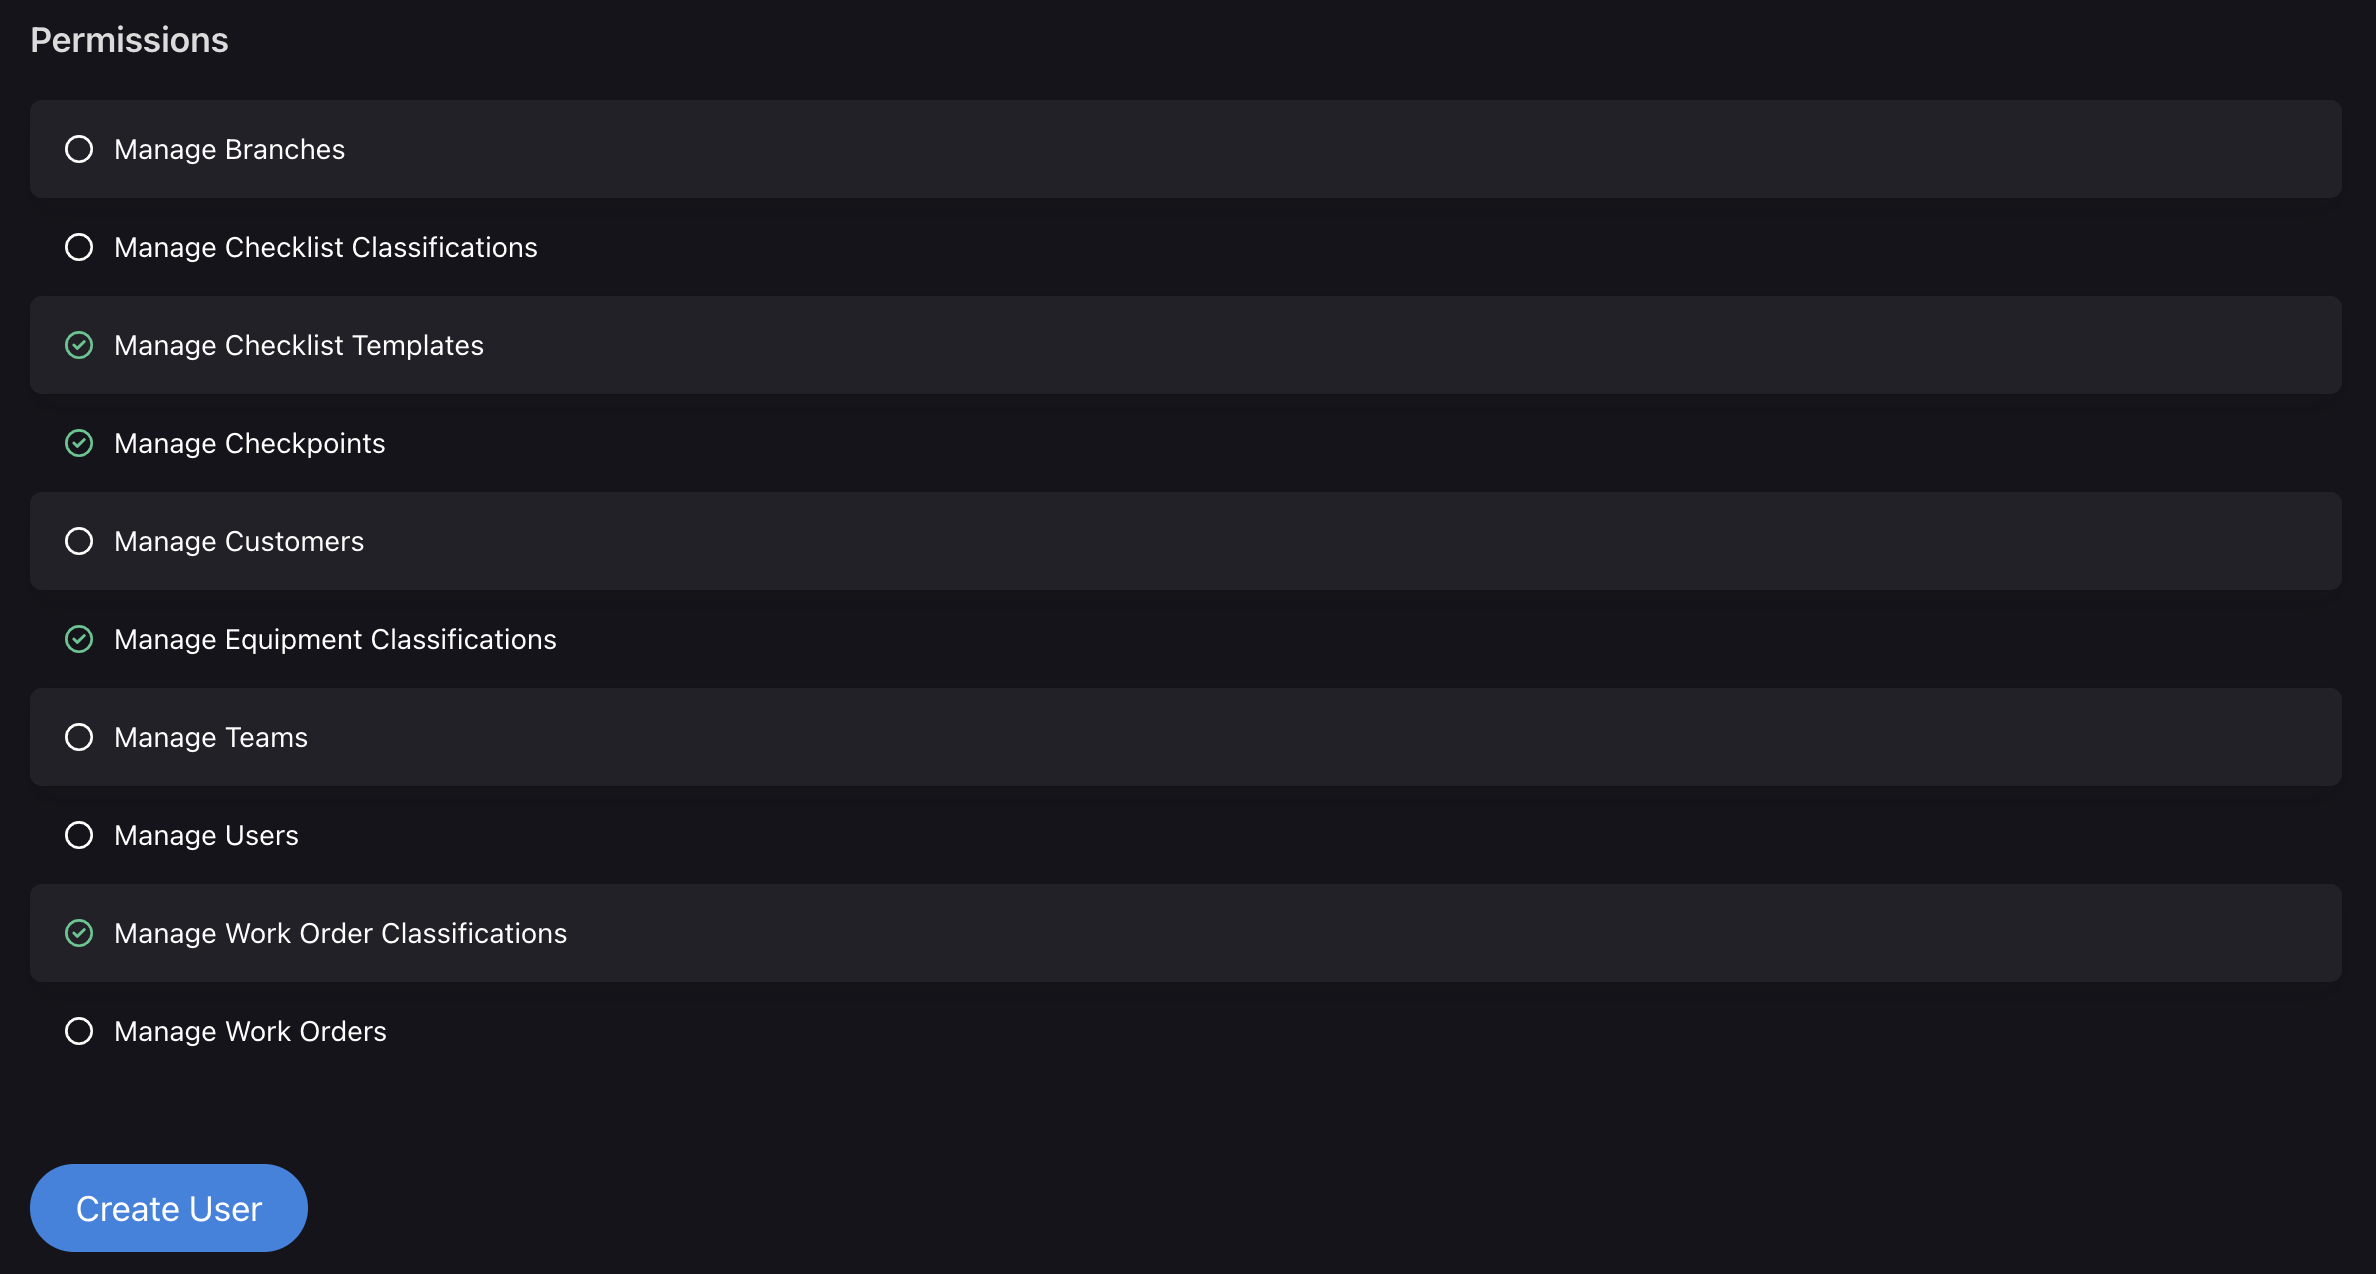
Permissions:
Select all the permissions that are applicable to the new user being created.
Permissions determine the actions and access levels the user will have within the system.
For example, granting "Manage Checklist Templates" permission allows the user to create, edit, and manage checklist templates.
By setting permissions, you can control the user's capabilities and restrict access to certain functionalities based on their role and responsibilities.
